Wednesday, July 24, 2013

"Frugal Teaching?" Series: Tip #3

My last teaching tip involved cleaning the big shower dry erase boards in my classroom.  Continuing on that idea, I began thinking about how teaching math requires A LOT of practice...everyday.  I have a classroom set of student size dry erase boards.  As a new teacher 14 years ago, I was uncertain what to use for erasers.  Some students automatically used their fingers, then within minutes had it wiped across their face and clothes...yuck!  Others went straight for the tissue box...that was a no, no...too expensive, we need those for the cold season!!!

Frugal Teaching Tip #3 - Save Your Socks!

I don't know the specifics of when I finally discovered the frugal solution...but, since I can remember I've used socks as erasers.  Socks my children have outgrown, socks with holes, socks whose mate has been eaten by the washer/dryer monster, socks with broken elastic, any and all socks that no longer seem useful or are just taking up space in the drawer!  I began calling them...

SOCK BUDDIES

 
 Sock Buddies are cheap and I don't cringe when I have to throw them away.  They are just the right size for holding the dry erase markers, too.  I keep a special tub in my classroom labeled "Markers and Sock Buddies".  Handing these out, preparing for use, and collecting these is a super time saver...as long as the students don't tie a knot in the sock!  These guys are simple to clean...just pop them in the washer on hot and viola, they are ready to go again.  I usually only wash mine at the end of each semester.

~~~~~~~~~~~~~~~~~~~~~~~~~~~~~~~~~~

How I use in my classroom:
1. Students are not allowed to remove the dry erase marker until the teacher gives directions.

2. Right handed students put the sock buddy on their left hand and have the eraser at their finger tips...literally!

3. Left handed students do the opposite...they put the sock buddy on their right hand and are ready to get busy!

4. When practice time is completed, all students put the lid on the markers and return the marker to the inside of the sock..."so it can rest, in the dark"!

~~~~~~~~~~~~~~~~~~~~~~~~~~~~~~~~~~~~

So...are you headed to your sock drawer or your missing socks pile in your laundry room yet?   I've even put a request on my newsletter in the past and had parents bring me bags of  SOCK BUDDIES.

Wednesday, July 17, 2013

"Frugal Teaching?" Series: Tip #2

How many of us still have those dry erase boards?  Over the last several years, my school has installed Interactive White Boards in every classroom (YES!) and decided to keep the dry erase boards as well (UGH!).  When I first began teaching, I was at a newly constructed building with all new furniture, equipment, and the smell of fresh paint.  When I transferred to my present school 7 years ago, I sacrificed everything new...including the magnetic, flawless dry erase boards that would easily clean on a daily basis with an old shirt/sock or even a damp paper towel.  I walked into a building nearly 100 years old, with dirty smelly carpet, dusty room dividers containing asbestos, dingy chipped paint, and makeshift dry erase boards.  I learned quickly that my dry erase boards were really not dry erase boards at all...they were big sheets of "shower board" that were purchased at Lowe's and attached to brown chalk boards.  (Yes, those are still on the wall, too.)  I also learned that my shower boards did not clean very easily and every color of dry erase marker left unsightly stains.

Frugal Teaching Tip #2 - It's OK to Use Alcohol!

Well, I was accustomed to using approximately  half a bottle of dry erase board cleaner each year when I did a deep cleaning during our intercessions, which figured to about $2.00 per year.  I learned quickly my half bottle would multiply after using a whole bottle the first couple months of school.  So, I began looking for other ways to clean and happened upon simple rubbing alcohol.  Neither product is easy on the nose, but the rubbing alcohol cleans the stains off my beloved shower boards and is much less expensive than the official dry erase board cleaner.  I simply fill a spray bottle with the alcohol, label it, and keep it in my closet.  I've even used the alcohol to clean my Interactive White Board surface and it does a fantastic job!

The best part is that rubbing alcohol can be picked up at just about any store and is very inexpensive.  I manage to use one large bottle of alcohol throughout the school year and I'm still only spending about $2.00!

approximately $2.00


Tuesday, July 16, 2013

You CAN Sprout an Avocado Seed!

I have a very inquisitive little girl who likes LOVES projects of all sorts... science projects, art projects, craft projects, etc.  She wants to learn how to do EVERYTHING!  A few weeks ago as my mom and I made homemade guacamole, my very inquisitive little girl looks at me and says, "I wonder if we could sprout this big seed!".  Of course, I've always heard it's practically impossible to sprout much less get to grow into a tree and harvest avocados...for various reasons I'm sure - GMO, splicing, grafting, climate, etc.  Anyway - we took our chances, I did a bit of research, and we began collecting avocado seeds.  Since I'm an avid recycler, we began planting them a couple at a time in yogurt and orange juice containers; then sitting them in a warm, but shady spot on our back deck. There are all sorts of ugly, but very useful plastic planters housing about a half-dozen unsuccessful attempts.

We checked daily for the whole month of June and...nothing.  Then we took our family vacation and when we got back...viola!  We had a sprout!  Yay - we were sooooo excited.  Below is a picture of our success story, which of course...just adds fuel to the fire of wanting to keep trying some more.  I mean - who doesn't want an avocado grove in their backyard? 


There was really nothing special to the process.  I have read that you can't use seeds from avocados that have been refrigerated.  Maybe that explains the many failures.  I pretty sure this was one we had just bought a day or two previously.  My very inquisitive little girl also reminded me that "THIS was the seed we peeled the seed coat off of before we planted it".  We did wash the avocado meat off the seed and let it dry out a few days first.

So, get busy everyone - plant your avocados, dig in your compost bin (They sometimes sprout in there!), and come back to tell us your story.  I have another one sitting in my kitchen window anxiously awaiting to be planted.


Saturday, July 13, 2013

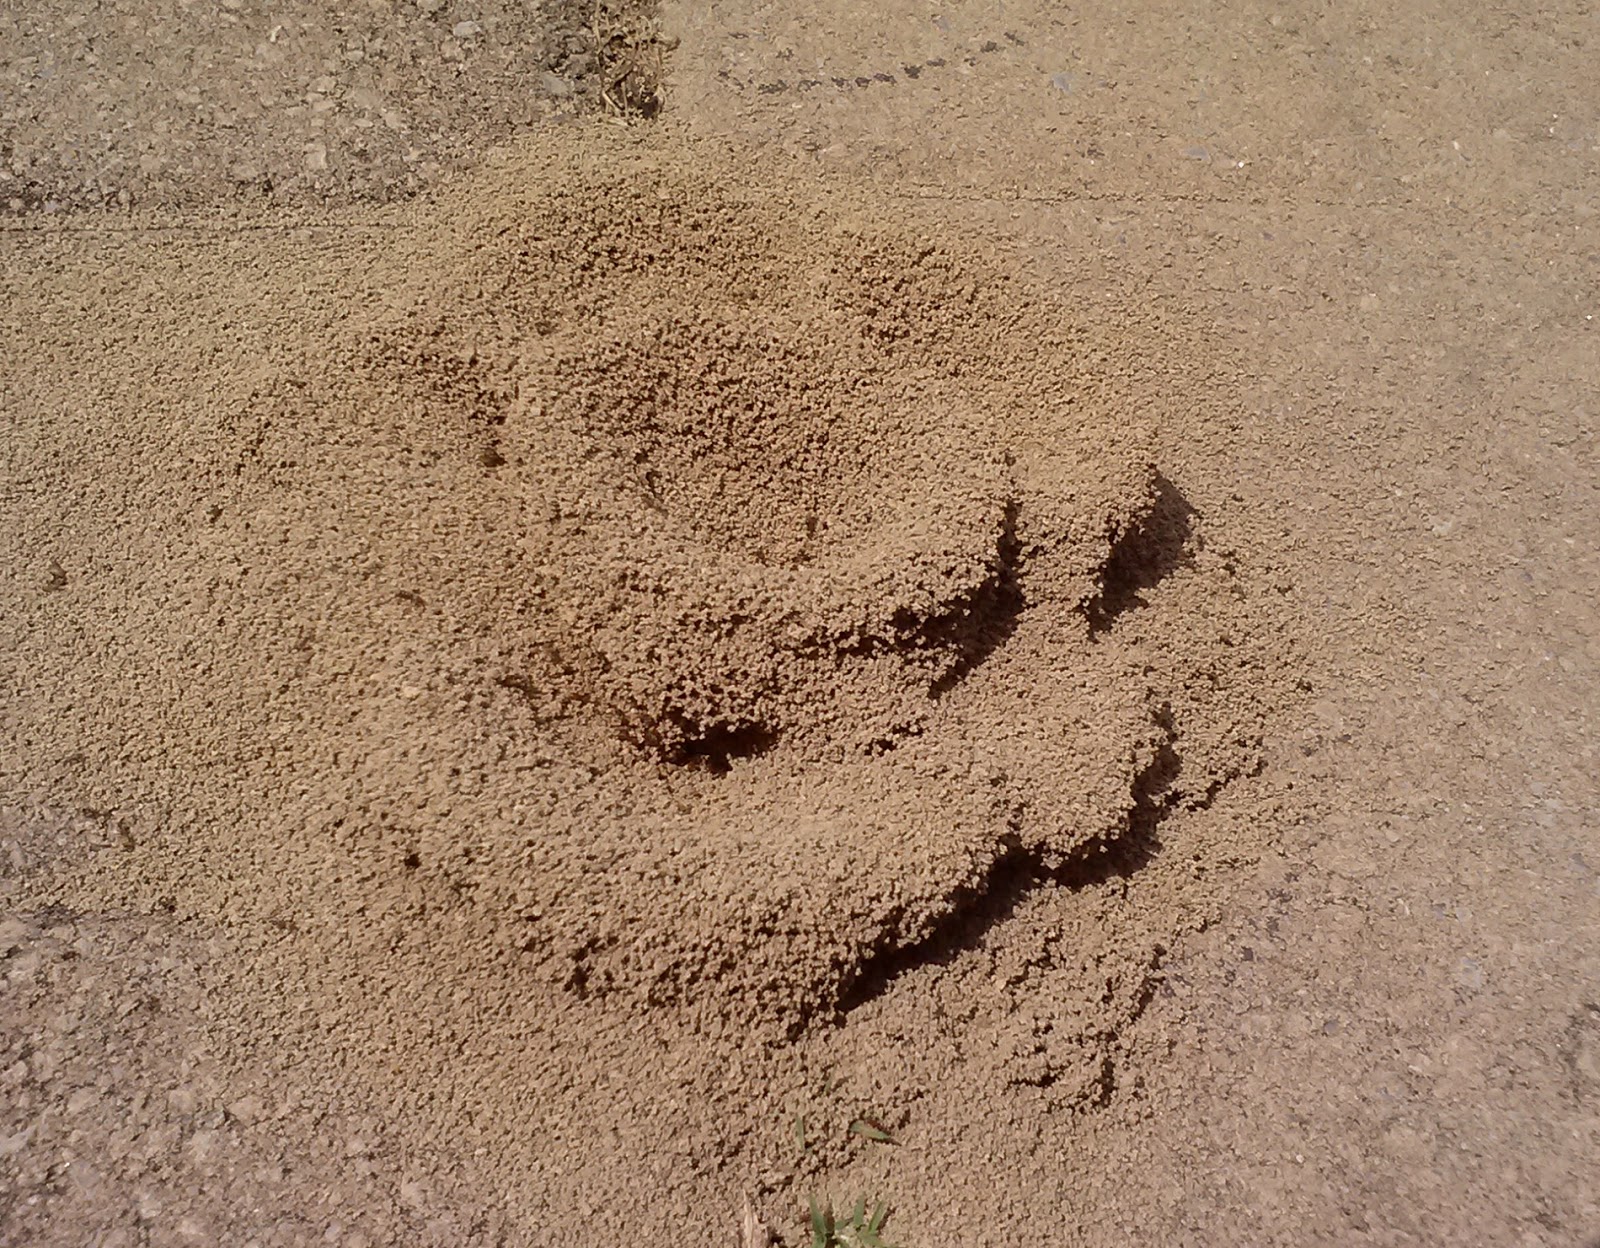
Science Picture of the Month: July - ANT HILLS!

Recently, I took my children on a day trip to visit my grandmother.  As we drove up, I noticed this very interesting pile of dirt on her walkway.  Now, I wasn't an uptown girl by any means and I didn't live way out in the country on a farm either, but I did spend the majority of my childhood outside, exploring.  Even now, I spend most of my free moments outside and I have NEVER seen a pile of dirt as intriguing.

With a little more investigation and determination to keep my little guy from squashing it, I discovered hundreds of little ants scurrying in and out of each hole!  They were busily carrying one grain of dirt from beneath my grandmother's walkway and dumping it over the edges.  As they all worked ever so diligently, together they created this fantastic ant hill to resemble a flower.


I didn't have my good camera with me, so I relied my phone camera.  The picture doesn't do this thing justice.  After a bit of research, I haven't seen any other pictures or information about ant hills of this nature.   
Does anyone know anything about this species of ant?

Here's the other picture I took - a bird's eye view shot.  Still, the picture doesn't show the distinct details we could see.  The ants just sort of blend in with the dirt.


What a wonderful world it would be if we ALL worked together so diligently!  We could do some magnificent things!  This has inspired me to promote "togetherness" in my classroom even more.  So many times my students try to outperform the other, and my parents have a difficult time connecting with my purpose.  I'm a bit inspired to develop one of my first science lessons around "ANTS" for this coming school year!

Does anyone have "ANT" ideas to share for 4th grade?

Thursday, July 11, 2013

Staples - Reward A Classroom Program!!

How exciting!  I just got back from a mini-shopping trip to get the 1 cent deals and noticed at the bottom of my receipt that Staples has made it possible to earn up to $2,000 on your Staples Reward card!  All you do is provide your Teacher Reward Card # and some other identifying information, print the information flyer to send home with your students, and viola...you can begin earning rewards when your parents sign up to link to your account.  You are allowed to earn $50 each for up to 40 students.  Click this link www.staples.com/rewardaclassroom or click the icon below for more details.

Wednesday, July 10, 2013

"Frugal Teaching?" Series: Tip #1

Because of the struggling economy, there is a lot of talk these days about frugality and saving money or cutting corners whenever possible.  As for teachers, there is very little in the way of classroom funds whether from adopters, local governments, or even parents.  This leads teachers to fund their own classroom activities and supplies.  Now, teachers are not paid six figure incomes.  As a matter of fact, some single teachers would qualify for an EBT card, especially if they have children!  I would love to do a series of posts over the next few weeks on the subject of "FRUGAL TEACHING" for the public school teacher!  If you have any tips or ideas that save your hard earned limited paycheck for your family, please share.

Frugal Teaching Tip #1 - Save Envelopes from Junk Mail

My drawer of junk mail envelopes!
I'm really not sure what prompted me to begin this practice, but it has saved me from buying boxes and boxes of envelopes or sandwich bags.  Since I've always taught elementary school children, I've always requested that parents/guardians send any money and permission notes to school in envelopes/sandwich bags labeled with all pertinent information.  Many times, this practice does not happen so I end up spending my classroom allotted money or my own personal money on those items (which, unfortunately usually gets  ripped open and thrown away shortly after being turned in).

You may be thinking, "Envelopes? Sandwich bags?  Those don't cost THAT much."  Well, since I teach math I began to do the figuring.  I agree, a couple boxes of each for one school year doesn't cost that much...but, multiply that by how many years you've been teaching and possibly providing the same items for your own  children's classroom teachers!

Here's my example using a box of 100 all purpose envelopes and a box of 100 sandwich bags you can pick up at just about any local retailer...
approximate cost $1.65

$1.65 x 2 = $3.30 for 2 boxes per school year
$3.30 x 14 = $46.20 over the passed  14 years

approximate cost $2.98

$2.98 x 2 = $5.96 for 2 boxes per school year
$5.96 x 14 = $83.44 over the passed 14 years

Total cost for 14 years of teacher funded envelopes and sandwich bags... $129.64


That's not a lot of money for 14 years, but I had much rather have it in my bank account!  Not to mention, the impact on the environment with more and more throw away products!  Just this summer while taking a break from the classroom, I have collected a whole drawer full of junk mail envelopes to use this year.  Give it a try!  Put it on your newsletters and request parents to do the same.  Be sure to have a designated space in your classroom for the envelopes that pour in and count the change you save...it will add up!